Monday, June 3, 2013

week 14

Just look at those springs. They definitely look like they want to stab you.

The brand of my project saxophone. It's a "cheap yamaha" everyone keeps telling me.

Wow, I wonder what happened there, those marks are pretty weird.

I drilled a hole into my hammer, just for fun! Doesn't it look cool?

Kidding, I really had to straighten hinge rods, and to do that, we have to spin them in our bench motor, while twisting the hammer handle and slowly moving it outwards. Basically bending the rod straight.

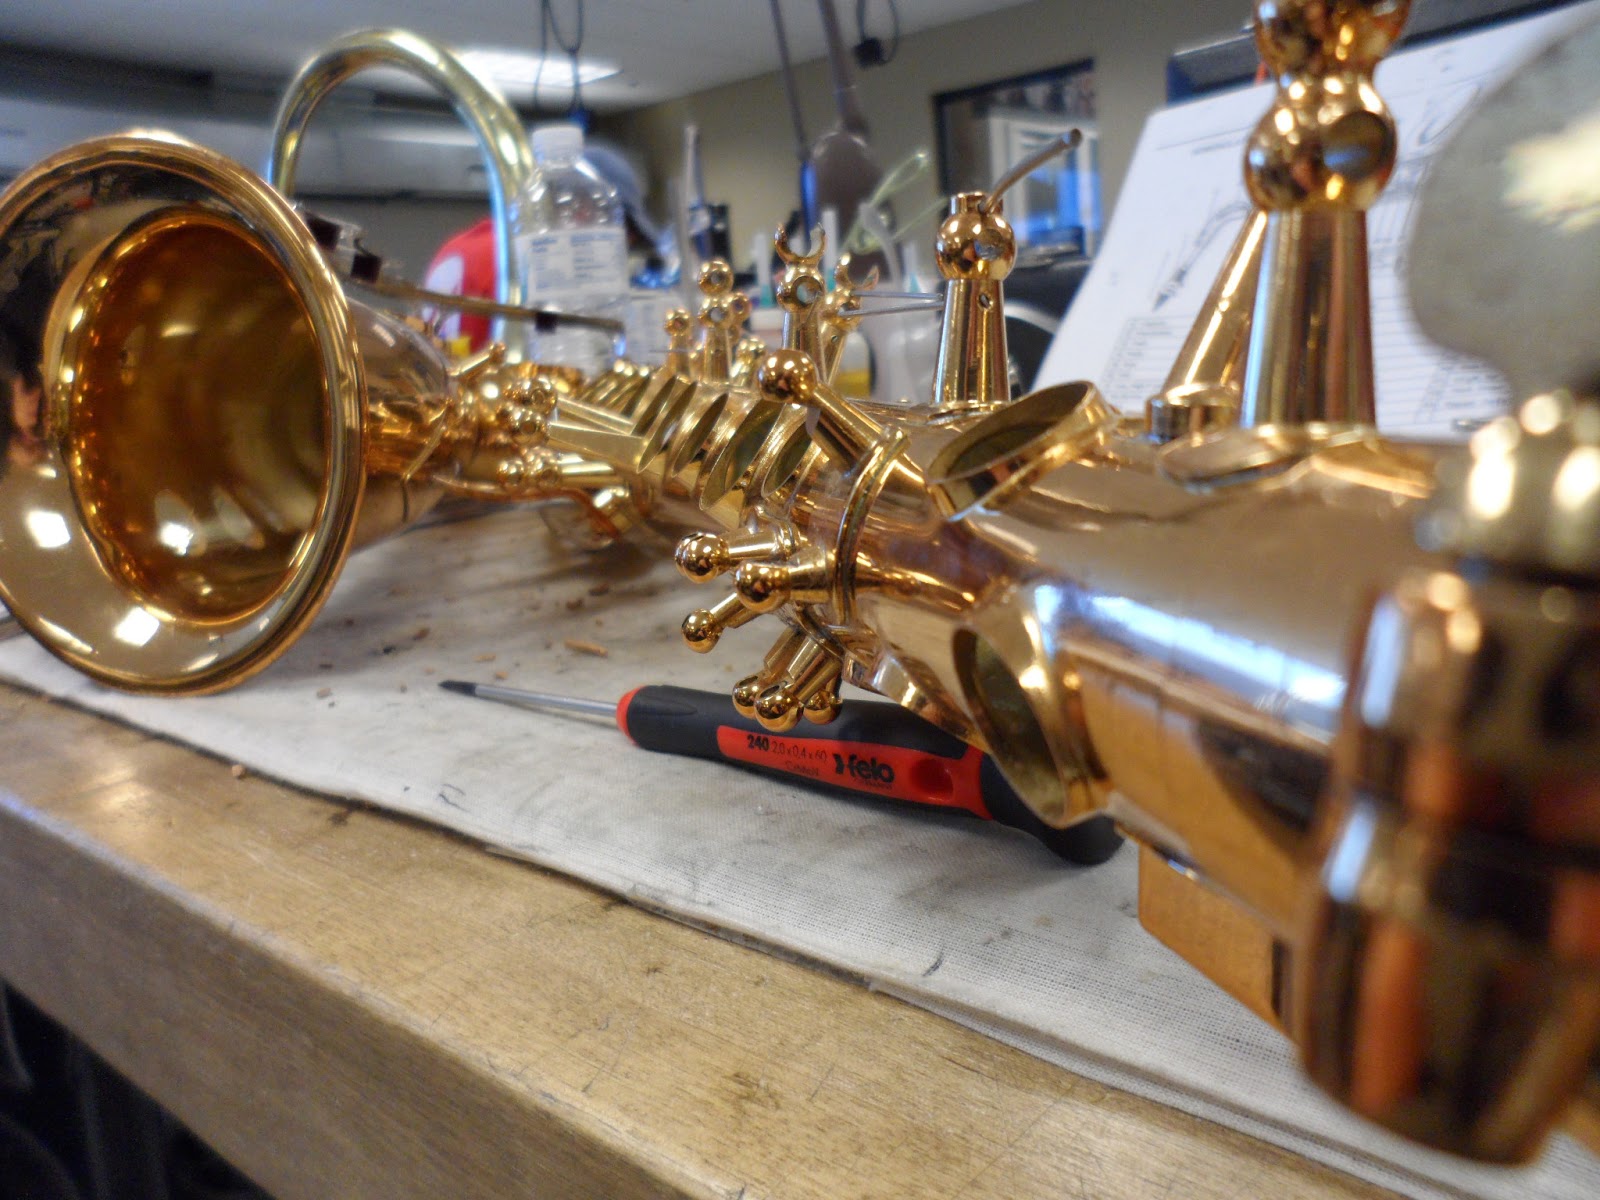
The sax looks kind of weird with no keys on, but the keyguard on.

And my saxophone has a bad keyguard attachment to the body that isn't soldered properly. It doesn't have much to hold on and soldering it in place is a fun small project that will take no time. I won't even burn any lacquer!

There. Now it's on. The lacquer got a bit foggy around, but with some quick light buffing that goes away.

 Just another angle.

Wow, just look at that key and the giant bur the manufacturer left on. The end of the tube has been violently hacked off, by the looks of it.

 Giant bur again, from a different angle so it's easier to see.

Wow, and there's even a huge slanted gap between the hinge tubes. I'll need to straighten it and swedge (but not too much so nothing moves out of place) to make it look good.

Another keyguard flange that wasn't on properly, I failed to take a before picture, but this one is a bit messier than the last, and I managed to burn some lacquer.

And another shot of that.

week 13

This was a flute key. I took the arm off and I'm going to make a pearl protector out of it! (for saxophone work)

I took the threaded part out too that was in the middle, where the screw goes in, so it's not sticking out.

Now, this is just a brass rod that I silver soldered to the flute key (notice that the key is now convex too)

Another angle, this looks pretty cool.

This is Ben's rod and key compared to mine (his wasn't finished and I had forgotten to take more progress pictures)

And a picture of my dirty saxophone.

What is that? It's the glue that keeps the body glued (and sealed) to the bow of the saxophone. I wonder if the tuning will change if I manage to scrape some of that out..

Saturday, April 20, 2013

week 12


Oh, hahaha, this is what happens if you're not paying attention. Of course I didn't put the pin back in with the keys like this, I just put it on.

There, all fixed. We had to take the keys apart again to oil the flute.

On to saxophones! This is the confusing mess on my workbench.

The bell of my project saxophone. It's a Vito (which is basically a cheap Yamaha, everyone keeps telling me)

 Here you can see the octave pip (pyp?) coming down into the body. Pretty cool huh?

This is a funny angle of my saxophone. The mellophone bell in the background kind of looks like a weird part of it.

Oh! A dented tonehole. It's slightly out of round. I can't wait to fix that.

 This is my plastic dentroller. We had a marine visit us few weeks ago that told us about this trick. It's just a plumbers tubing, radian bearings and some stoppers (the stoppers are inside so you can't see them). This can probably be done without the stoppers if it's glued properly in place, but I didn't want to take a chance on that. Oh, and a steel rod. I had to make the end of the tube a bit smaller at the ends (done on a lathe in about half an hour) to fit the bearings in.

Doesn't that look nice? I have yet to try mine, but I've tried the one my classmate Sam Skavnak made.

week 11

So this fell apart, but I just soldered it back together. Keep in mind I did some cleanup work after I took this picture.

Another picture of the solder work I did (this is the other tube, since it came off both sides).

Oh, now it looks even nicer. I burnished it more down with a magic dent eraser (ok, it's a piece of plastic cutting board, but it's still cool and works really well!)

Oh, look at the dent on top of the tube, next to the casings.

A dented in finger hook. I have to take it off to get rid of that dent, isn't that fun?

Oh, the twizzler. The mouth pipe is twisted  and the brace that attaches to it is bend sideways too. This mouth pipe needs to be replaced.

Take a good look at that ferrule.

Now, at the top of this spacegun you can see the ferrule in the last picture, the one that looks burned? Yes, that's it. I need to clean it up before I put it back together.

 This is the other side of the middle part of the mellophone

The bell alone.

The twisted mouth pipe.

Oh, a dent. I can take that out now that the horn is apart.

More dents that I then rubbed out.

 And the dent is gone! whoooooo...

Oh, more dents on the bell? Time to use some weird curved tools to reach in there and push them out a bit before I get to play with the magnetic dentballs.

A dent that was behind the casings. How in the world did that get there?

The twizzler from a nice angle.

Look what Greg found! It's a corned main tuning slide (I'm pretty sure) that matches the old mouth pipe perfectly! Too bad that it's still full of pitch after it was bent. I'm going to have so much fun getting that out.

Look how nicely that matches! I don't have to do anything but clean it out and fit it to the horn.

Gross pitch that was inside. I scraped off a bit from the inside and took the bur from the cutting with my solder scraper.

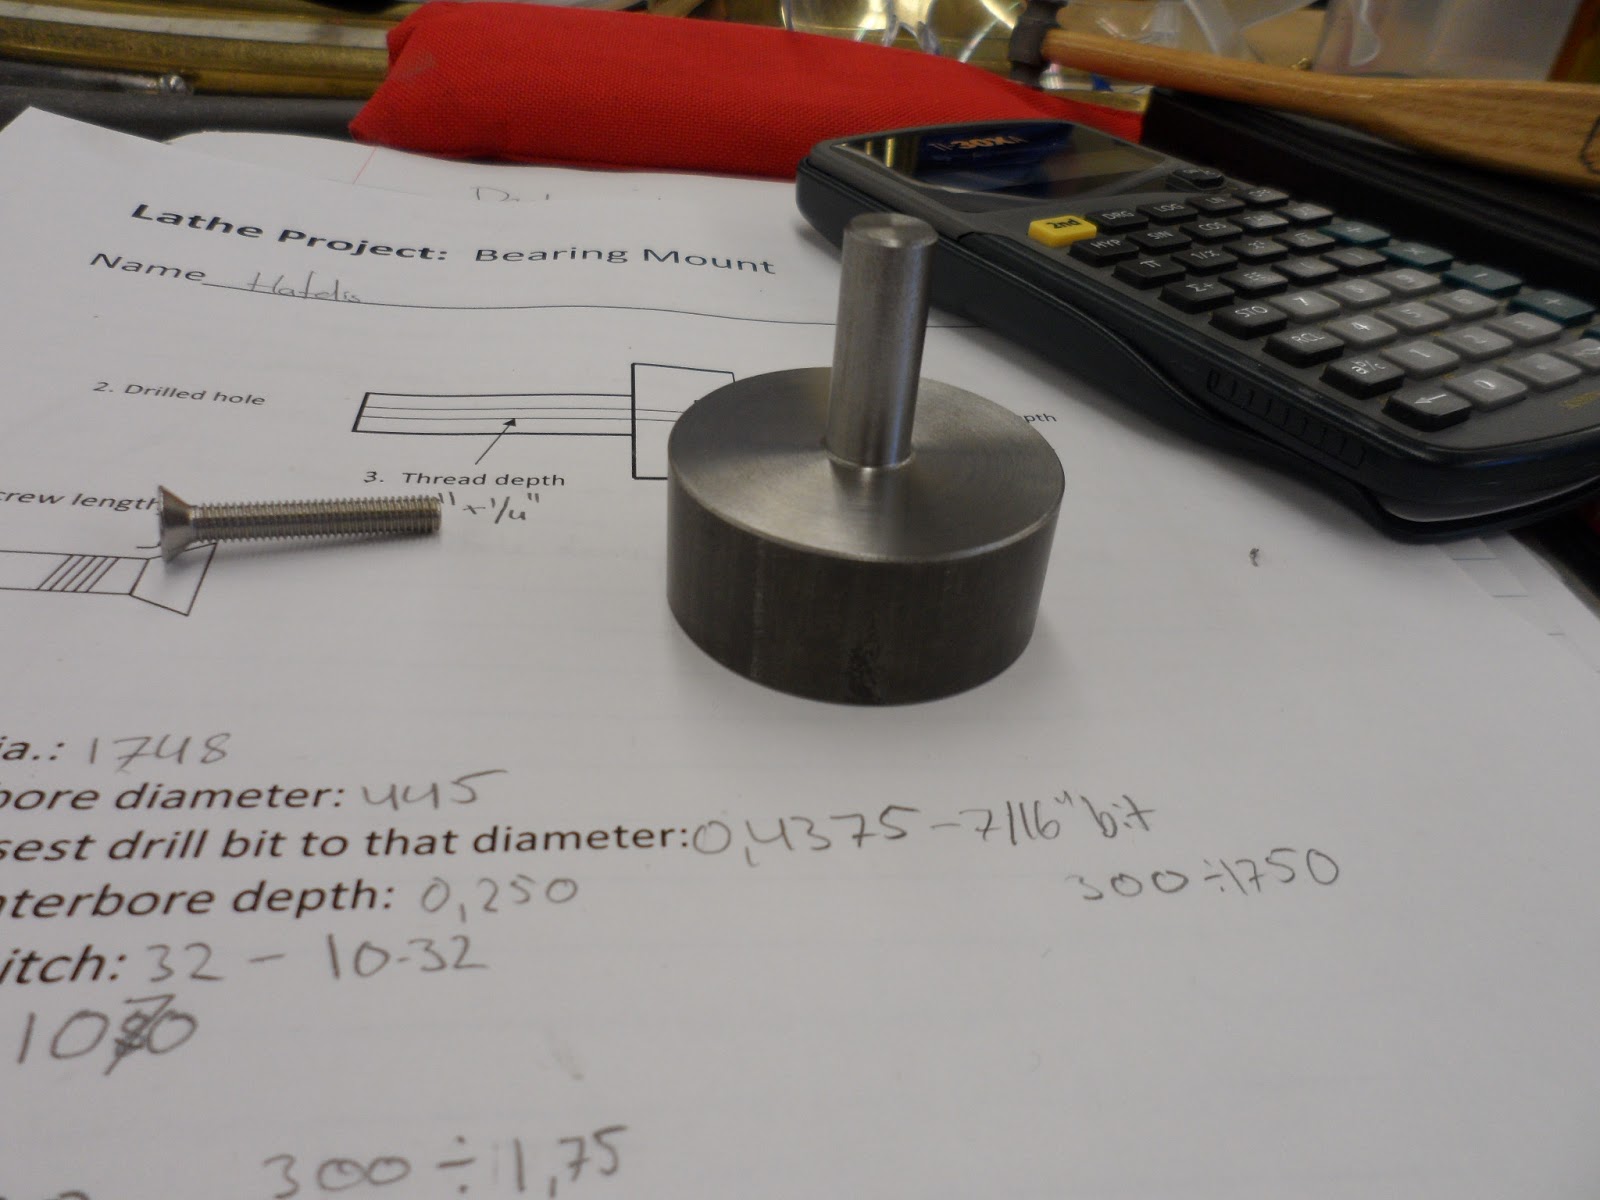
A lathe project. This is a bearing plate mount. I stick it into a lathe (or a bench motor), screw a bearing plate on there (the side of the thing that is now facing down) and use a cool tool to press on the bearing plate, making the lip wider so I can fit it securely in the french horn, to silence the horn.

S2 week 9+10


 This is the mellophone I've been working on a bit. It has some dents that I want to take out. This is a graded project, but I talked to Greg and instead of him putting dents in a horn and letting me take them out, I got to use the mellophone that already had some dents in for practice.

Time to use that scary tool. Yes, the big rod with a ball on the end. Scary.

That looks pretty nice though. It's a bit bumpy still, but I got out the dents.

Trying to fix my project french horn. I need to change the bumper material (the black rubber, brown cork and the orange rubber in the picture) because they don't match.

We got to see the power of the magnetic dentballs. The school made a holder for the magnet itself and we put a big ball into the instrument that Sam is wearing in the picture. Jeremiah helped him out.

This is from the field trip we took to the Getzen factory. I'm afraid I took lots of pictures, but they look bad and don't show much, so I'm only posting this one. It's a proof that you can't build a trumpet if the only thing you know is how to solder.