Thursday, December 6, 2012

week 13+14


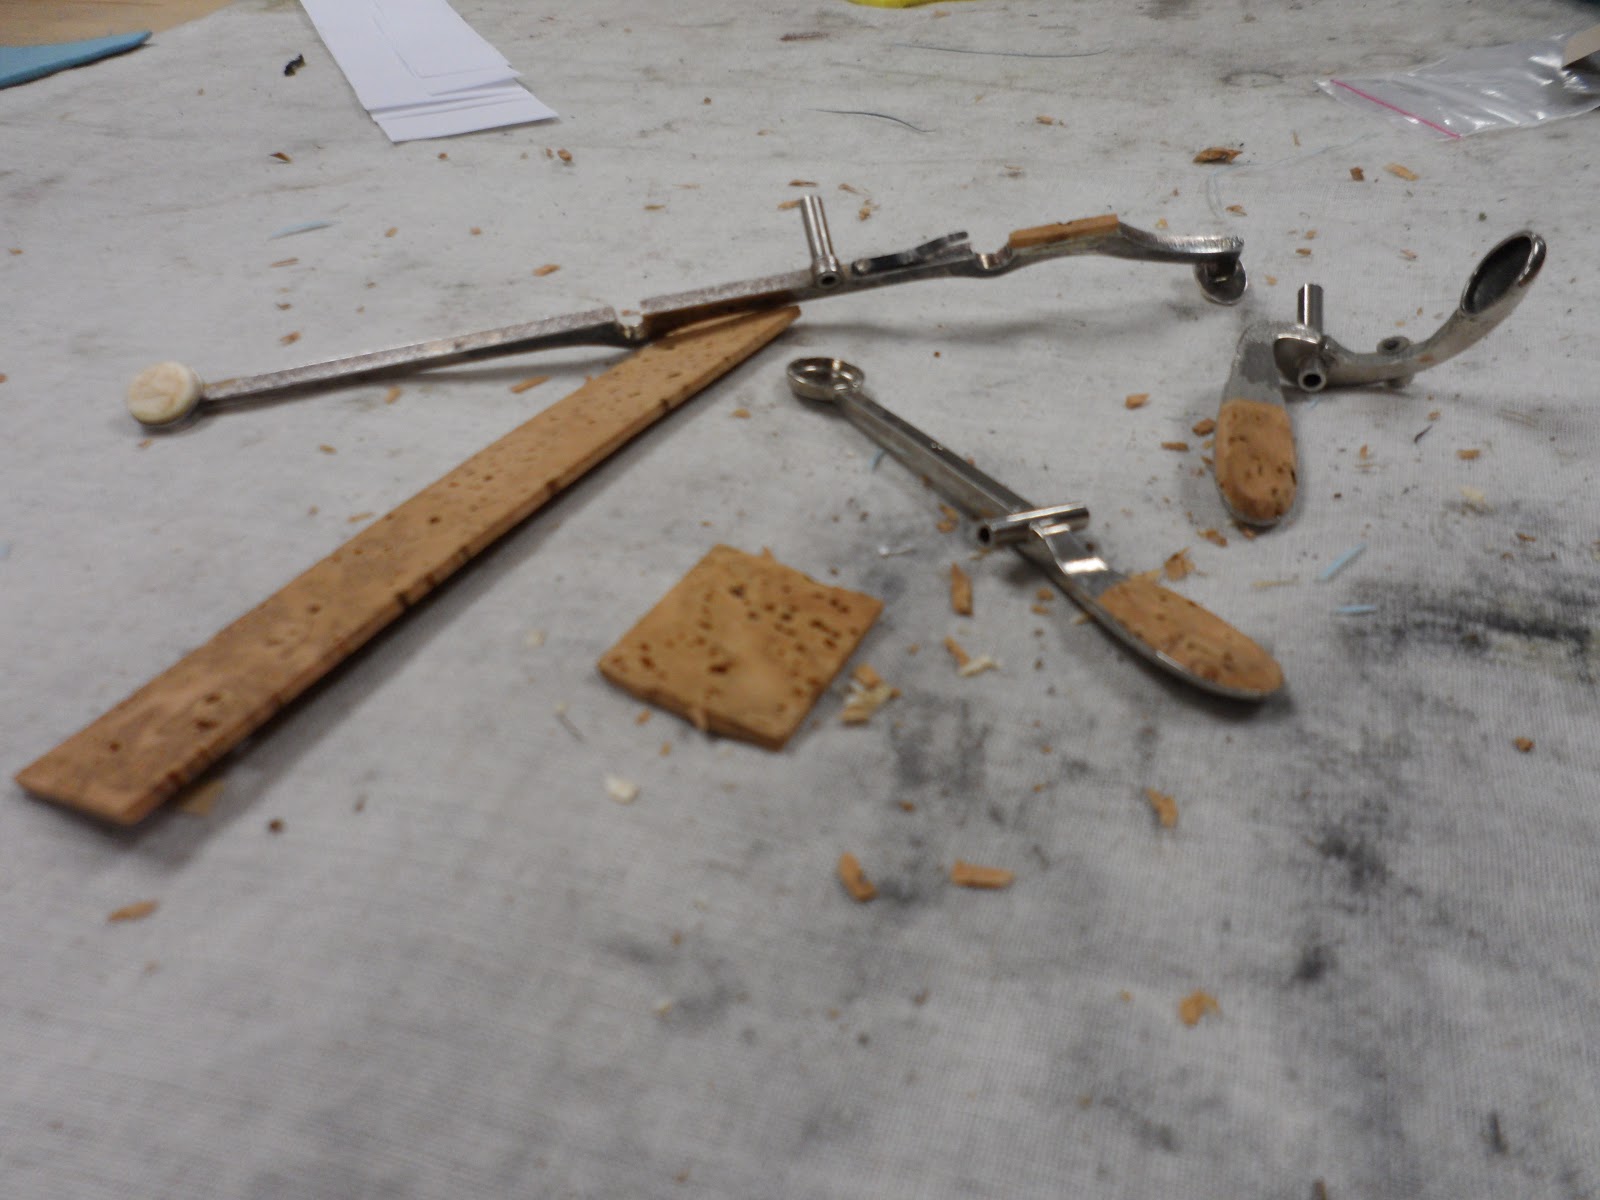
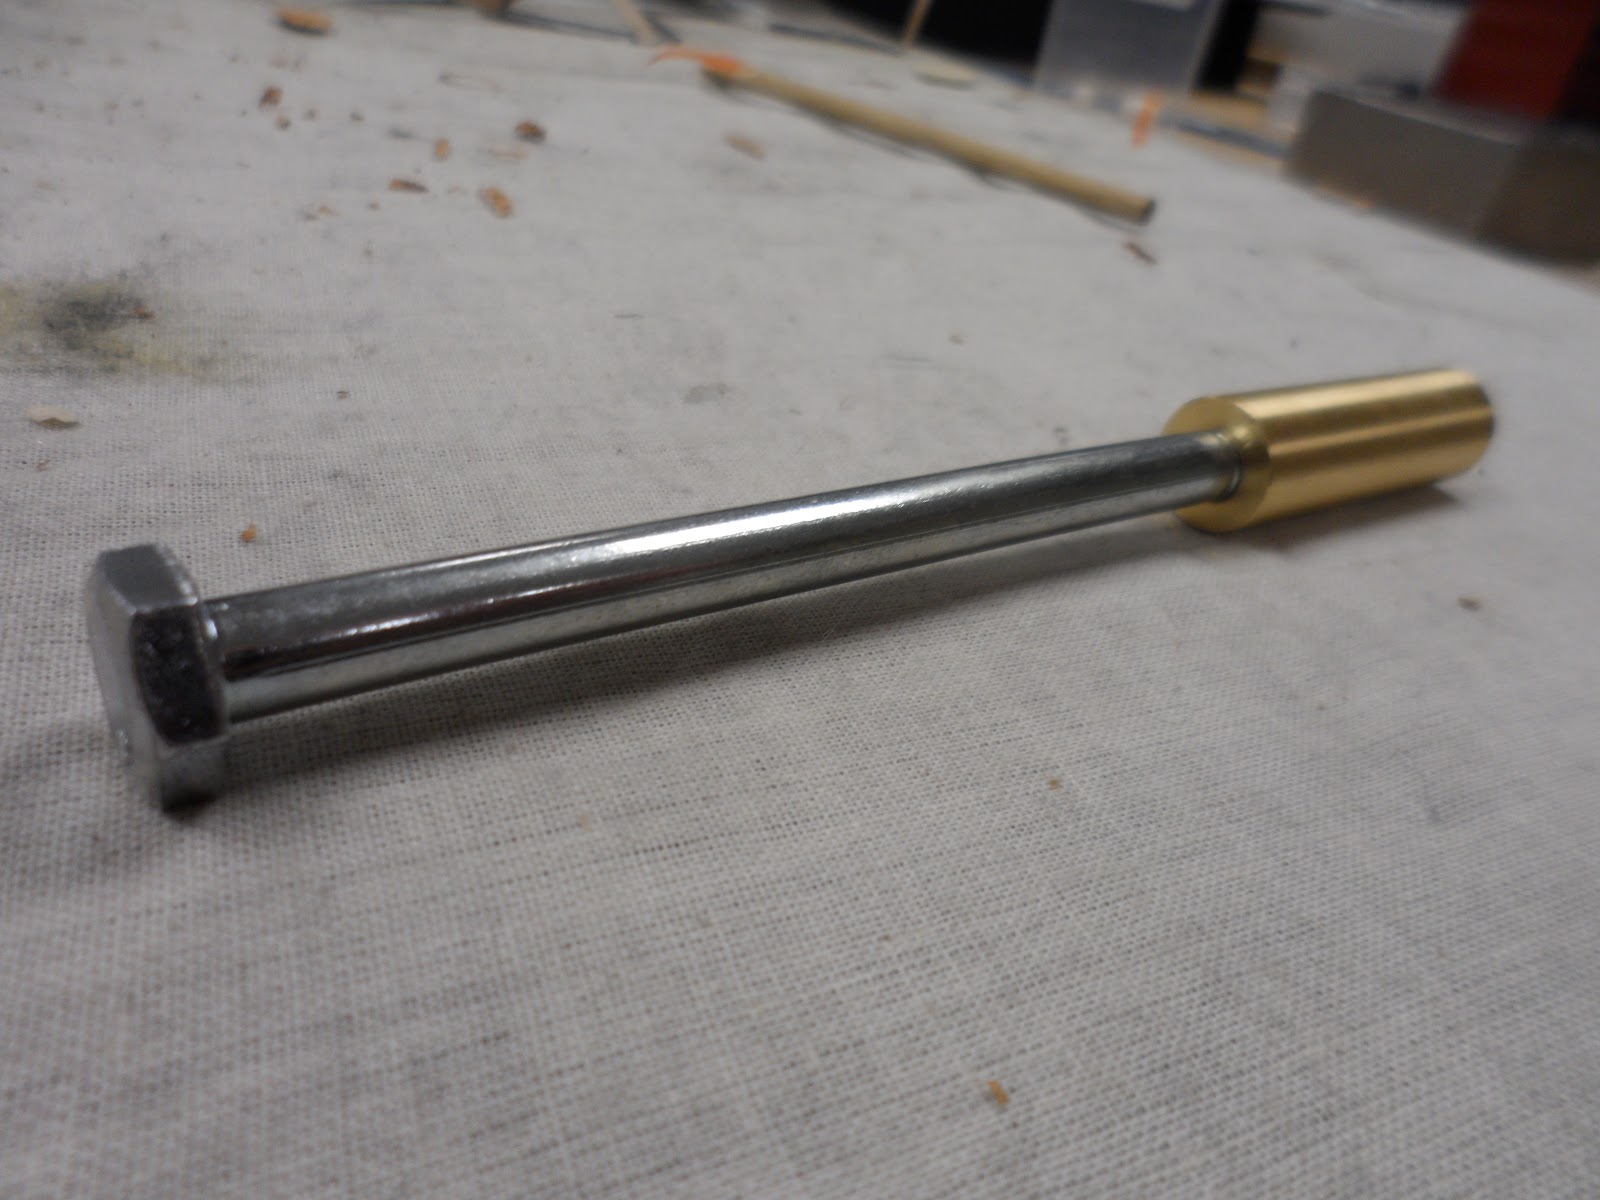
 This is my tonehole leveler. I use it to roll it on the cork in the picture, so the cork will get nice and round. In the picture I have already rolled it so it's curved.

After gluing the tenon cork on, it's dry and not slippery (we want to make it slippery so it will slide easily into the clarinet and seal properly). This is a paraffin wax that we then heat with our torches. I tested the heating on a bad cork and that cork is really easy to scorch!

This is what it looks like after heating. Nice and smooth.

 This is a cork that I messed up while cutting, and didn't see it until I only had 15 minutes left to finish off my clarinet and had already glued it on. Whoops. This one should be replaced because cork grease will find it's way in that crack and under the cork, damaging the glue so the cork will spin on the tenon; or break loose.

This is my bench partner (we sit next to each other) Whitney. She's cleaning all fingerprints off her clarinet using gloves, so she doesn't put new fingerprints on.

This is my clarinet, all done and ready to go! I had just enough time to quickly wipe the visible fingerprints.

Farewell clarinet!

My flute screw board. It's just like the clarinet screw board but this one says flute. Kidding, it has different holes as the clarinet and flute keys are very different. The flute is pretty easy to take apart, compared to the clarinet, well, as long as we're not counting knockpins.

My flute all taken apart, the screw board for the flute looks really simple. And the sheet for flute nomenclature, soon there will be a test on that!

My flute naked. this is my method flute, I'm not quite ready to take apart my own!

Again, my screw board.

Looks like someone decided to change one pad. Can you guess which one?

Oh wow, trying to fix the regulation. This is the f to f# on the lower stack of the flute. Those two should be touching at the exact same time, but the pads are a bit messed up and I just put way thicker foot corks in so they won't touch. Regulation is two or more keys closing together with one touch.

Sunday, November 18, 2012

week 12

So I took my customer clarinet apart, and there the keys are sitting, waiting to be de-padded, de-corked and put through chemical cleaning.

The row of cork pieces in this picture are used to measure the distance from the pad cup to the rim of the pad, how far the pad itself sticks out of the pad cup. They can also be used to measure cork thickness.
They are made out of synthetic cork that doesn't compress, so the measurement won't change. Except my 3.0 one that Lucas says we will change later.

I took the corks and the pads off, and now my keys are sitting in a pile, waiting for me to get them through chemical cleaning. This may look like chaos, but I assure you, it's organized chaos.

This used to have a cork, a tenon cork, but I took it off, so I can clean the body. The body goes through some mild de-greaser, while the keys go through the same process as brass does; de-greaser for 15 minutes, and then more aggressive stuff, milkstone remover for 2 minutes.

When swedging the keys to make them fit, some keys can't be swedged. This can be because the key has a weird shape and therefore no way to fit the pliers or the collet on. Some keys just simply don't want to!
And that's where those baby washers come in. We can put them on the end of the hinge rod to take up space. And then the hinge rod can't move around!

Ow. That is what my hand looked like after swedging a key with my fancy swedging pliers. A lot of pressure, and the key still didn't want to be swedged. Oh, well, the distance between the hinge tube and the post is less than the thickness of a razorblade (9/1000 of an inch) so it's okay.

Tiny tiny screw. This is a screw from a spring. I know that because I can see it has a head, while I know that the pivot screws in my clarinet don't have a head. Also it doesn't have a pointy end like my pivot screws.

Padding!
This is my upper joint, and the key is the f# ring key. I just put in that pad and it looks nice. We check the seal with our feeler gauges that we made, and after padding our whole joint, we can use the MAG machine to test if it holds air. Must remember to take a picture of that thing next week, it's amazing.

Corking. This is the inline Bb/Eb key, and I just put that cork on there. The cork was cut and shaped with a razor blade. It's a good thing I didn't cut myself while cutting that cork, or the cork could have turned red. Taking it off and putting a new one on takes time, and we want to avoid that.

Making the cork fit. This is the f# ring key foot connecting to the foot of the thumb ring. Anyway, It's two pieces of nickel silver contacting, and we want to put on a cork to both silence the key action, and make the distance between the pad and the tone hole (how far up the pad lifts to let air out) right. Now. the underside of sandpaper isn't really smooth so we put a special blue tape under. The sandpaper is pretty fine, 600 grit.

Monday, November 12, 2012

week 11

 The tone hole levelers that we made a long time ago, so shiny and pretty. But Lucas wants them absolutely flat, so we had to sandpaper them in a figure 8 motion on our superflat anvil.

My methods clarinet and some of the tools I was using to fix the keys. Yes that is a clothes pin taken apart. We put it under a key before hitting it with a hammer to protect it.

That key was really hard to get right. First it tipped backwards and I fixed that by putting half a clothes pin under the arm of the key, and hitting the tip with a canvas hammer. Then, because I didn't hit it with the right angle it started to tip to the left, and I fixed that by grabbing my protected knipex pliers (parallel jaw pliers) and using it gently on the arm to bend it to the right position.

Jeff here (guy to the far left) needed a inner tube for a trumpet he's working on. The tube was made with a seam because that's what they did before 1930ish and the owner wanted the trumpet restored originally. So, they made a brass piece into a tube, soldered the middle, and then squeezed said tube through this machine to make it the right thickness and right bore size.

That happens in our school. Greg (teacher to the far right) was rolling the huge instrument in the picture (sousaphone?) to class and Billy (the huge marine guy playing the instrument) decided that he needed to play it in the middle of the hallway. After all, there is sheet music on the walls!

Swedging. It's just squeezing the key so it fits the hinge rod inside better. What it does too is get rid of end play that exists between the posts, as in, you can move the whole thing around and it makes the pads not fit very well over the tone holes. I'm fixing the f# ring key in this picture. The swedging has to be perfect, the hinge rod has to be inside so we don't accidentally crush it, and the pressure has to be the same around the key.

More swedging. I was showing that you have to swedge all around the tube evenly.

Looking for play in the key. I wedge it sideways with my fingers to see if it wiggles. If so, it needs to be swedged.

Sunday, November 4, 2012

week 10

 Lucas handed three keys to each of us and showed us how to change the cork.

We had to make those nice and shiny. Pad slicks, meant to move and float pads to the right leveling.

 This is a feeler gauge, it has a washer material at the end. We slip those between the tone hole and the pad to see if it seals properly.

Really just a stick with a feeler material glued on, but highly useful.

The torch at my bench. Must remember to turn off the gas at the end of the day!

Padding. This is the new pad I put in. I took out the old pad, cleaned the pad cup, put a glob of hot stick glue on the pad, and put the pad in the pad cup. I had to clean up the sides of the pad since I put just a little bit too much glue. Finally after some heating and pushing the pad sealed perfectly.

We had another lathe project, a brass tube to put into the inner tubes of a trumpet to help take out dents. This is Alana using the mini lathe.

Must be absolutely perfect.

Drilling into the brass tube. The drill makes squeaky sounds when it gets full.

And now making the threads inside of the tube so a screw can be screwed in.

This is how my slide tube mandrel turned out. Really happy with the results, even if I scratched it a bit when trying to see if it would fit into Brandon's trumpet. 

All smooth and nice.

Looking pretty good. The screw is just acting as a handle, nothing needs to be put on there like with the dentball holder.

Sunday, October 28, 2012

week 8 and 9

 This is my project trumpet, this brace is broken, and the bad part is, it doesn't have flanges, so it's going to be hard to repair it without having it fall off.

 It fell off, it didn't fit really well anyway, I made small round patches for both sides of that brace, to make it stay in place while I soldered it.

There was also a dent under that broken brace. Good thing that Greg let me try out that weird tool that I can put dentballs on.  Now, it's very crucial to put grease on the ball. Even if it has tape on it. Or it will get stuck and not even the huge marine in my class can pull it out. It came out when Greg put some valve oil in there to ruin the tape and make it slippery. Yay!

I got an extra trumpet to take out knuckle dents, since neither my project trumpet nor my mouth pipe project had knuckle dents in. Those were rubbed out with my fancy dent rod.

Remember the video with Greg smashing my trombone bell? Well, this is what my trombone bell looked like after I took out the buckle. I kind of like the wavy scratches but I guess those will get better if you buff it and polish it.

The inside of my trombone bell after I took out the dents. I had some difficulty finding them because they are so small, but Greg used a marker to show me where those dents were hiding.

That would be my mouth pipe project, buffed and nice. I lacquered it too. 

My broken brace after I soldered it on, and buffed away the mess.

My project trumpet again. My mouth pipe was crooked, and I had to take care of that by putting the trumpet on a bench peg, and pushing. A bit scary.

The waterkey on my project trumpet. The waterkey spring was in pretty bad shape, and besides, it was wrapped around the bridge, which will make the spring go bad and break more easily.

Putting the waterkey cork in it's rightful place!

 I play tested the project trumpet, and oh my, did it sound good. The bore of the trumpet is smaller and the trumpet itself is lighter, so it was easier to play than my methods trumpet!

That's me with my nosepicker. Reparo!

Brass class for this semester is almost over so we must give back our trumpet bells and trombone bells. Goodbye!

My project trumpet before I put it in, all fixed up and nice. It didn't even play when I got it, because someone put the valves in the wrong casings!

My crook, no dents, but it still feels lumpy. Sometimes you just can't get it better.

That's my workbench at the woodwinds lab! Can't wait to get started on clarinets and flutes!