Where the lever is connected to the tube, there is a pin. It's really hard to get out. So hard that Lucas told me not to, and that I could take another key off instead (for cleaning they keys).
Let's take this one out then!.
I was a bit frustrated, so I ended up taking out another pin, just so I wouldn't have to look at the other key for a while.
Finally I was able to grab the end of the pin with my special pliers and pull the tiny pin out.
I really messed up the pin that used to be there, it was hard to get out and it even broke in the process. But no worries, I got to use a set of pins and reamers to fit a new one.
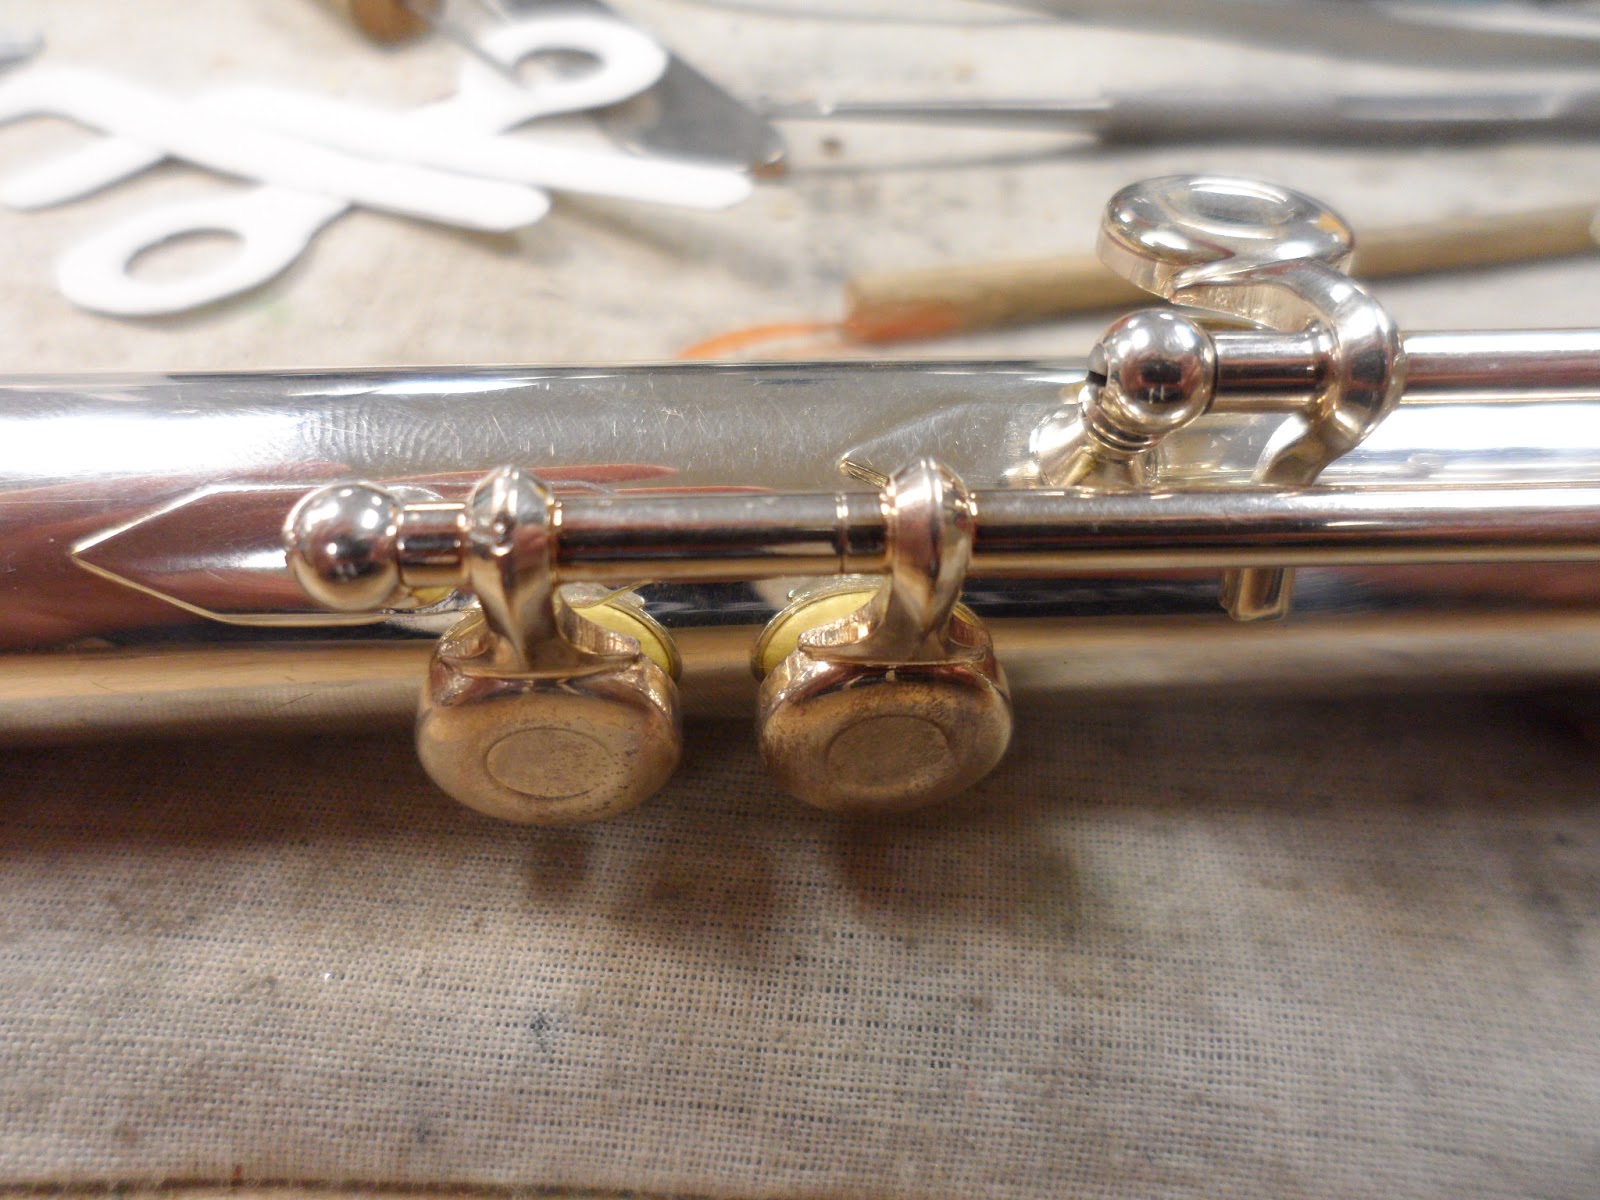
Ah, they keys are back on. Time to put some pads in!
Those need to have a good seal since they're so close to the head joint, it's a good thing they have really sturdy springs to go with it.
What is this? A bent clarinet found on Jeff's desk. Poor Jeff. He's going to pad it for fun and see if he can make it play. Exciting!
Some of my padding tools. Those are used to protect the pads and provide leverage while the pad cup is flexed so it will be level with the tonehole.
Leaks. Leaks everywhere. It's nice to use a marker to remember what pads were done (marked with X) and what pads had leaks.
Let's bake a seat for those pads.
My friend Alana with the bendy clarinet. The upper joint is from a different clarinet, to check if the lower joint will allow it to play. It plays! Hurrah!
Flute head corks. No, this is just the end of the head joint, but you can see the screwplate that goes on top of the head cork. Those have to be set to the right height or the flute will be out of tune.
The rod that came with the flute inserted into the head joint, and surely, the line in it is in the middle of the embouchure hole (the hole in the lip plate). The distance from that mark to the end of the rod is the same as the diameter of the flute "tube" where the embouchure hole is. Rods are specific to flute (meaning that I shouldn't use a rod from a different flute brand, or at least measure it to make sure it is the right length)
The lip plate. Oh, the scratches!
The foot cork for the D# key on the foot joint. It's really thick, and cutting it is a bit difficult.
It needs to fit to the body of the flute, to be more effective (to control venting properly).
Oh, that looks good. It was also great fun to shape.
This cork is so pretty. Or it took me a while to cut it and I stared at it until it was pretty in my head. Either way, it's set to the right venting and it hits the body just right.
A boring foot cork. We use blue tape to avoid scratching the flute, it's really thin so the venting won't be off.
Trill key lever corks. Those are not fun to shape. The arch that needs to meet the lever itself is an odd shape. The part that meets the body is more fun. Shaving it to the right look and then sanding it for trill key venting is way more fun.
The bendy clarinet assembled. The upper joint is bent too. It plays beautifully. (Again, my friend Alana in the picture).
Goodbye Red Wing! Time for Christmas break. This is the street that leads from my house to the main street.